Permission: Owner | Manager | Teacher | Group Owner
Managing group access and control is made easy through Minga.
1. Viewing Group Members
You can view all the members of your group by clicking on the Members link in your group page.
2. Accepting Group Members

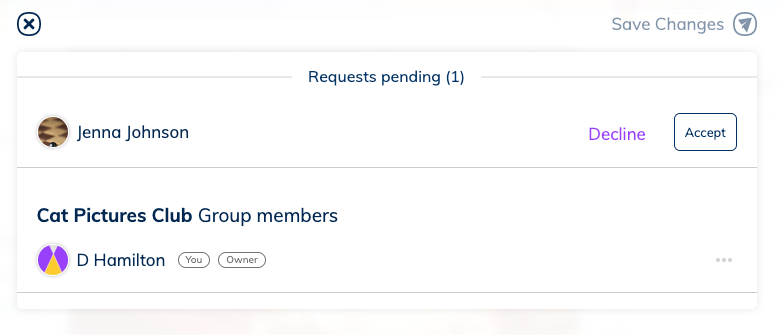
If you create a private group, members will need to request to join your group. You will receive a notification and can accept or decline their request. You can also view the request by viewing your list of group members.

3. Adding Group Members
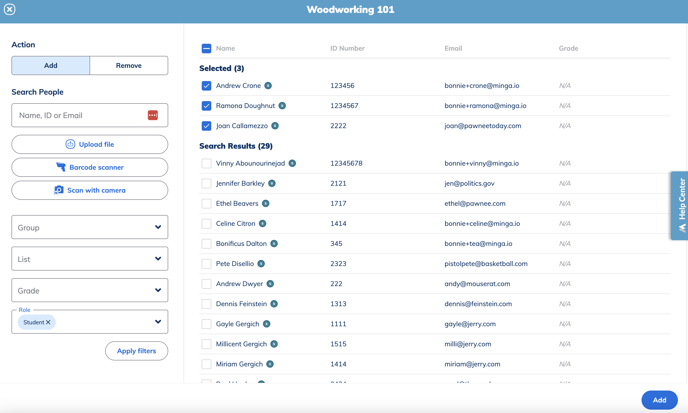
As an owner of a group, you have the ability to Add Members:
- click Add Members on your group page
- search for people you want to add
- confirm the member(s) to add

4. Bulk Adding Group Members
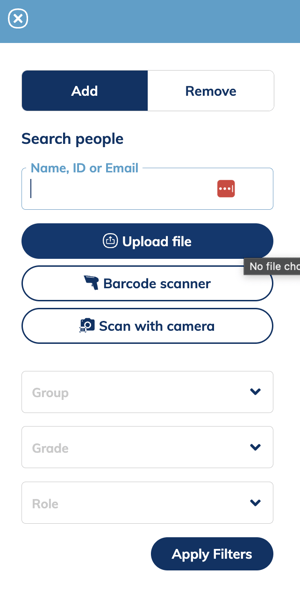
As an owner of a group, you also have the ability to Bulk Add Members:
- Click Add Members on your group page
- Select Upload File
- Choose CSV/Excel file (All you need is the Student ID number)
- If file contains Headers check off box First Row Contains Headers
- Ensure column has correct header in Minga (ID Number)
- Hit Import List

5. Managing Group Owners
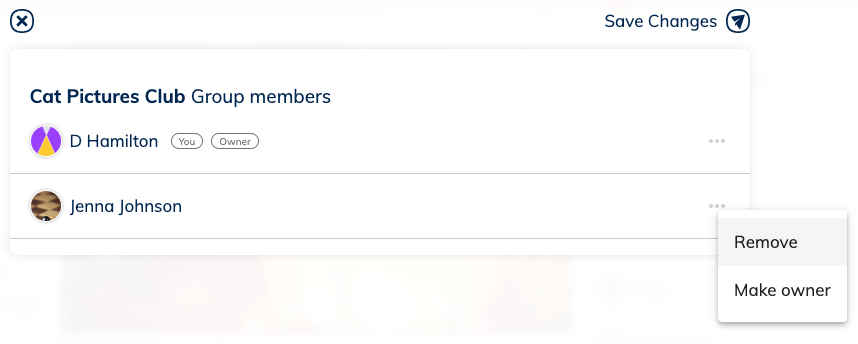
When you create a Group, you are the owner of that Group. You also have the ability to give other members ownership (so that they have special permissions within the group) and to remove owners if needed.

NOTE: A group requires at least one owner who's Minga role is Owner, Teacher, or Manager. If you are the single owner of a group, you are not able to leave that group without assigning at least one other authorized owner.
To learn more about groups and how to use them, check out the Managing clubs and extra-curricular groups with Minga guide.
