Permission Level: Owner | Manager
Set up Self Check Ins
Setting up self check ins, will allow students to simply scan a QR code that has been printed out to check in for any Check In Reason.
Video Tutorial:
Create New Reason
Step by Step:
1. Go to Check In
2. Click on Reasons tab
3. Hit Create Reason
4. Enter desired settings
5. Toggle on Allow Self Check In
6. Click Create and make it Active
7. Click Edit next to your newly created Reason
6. Hit View QR Code
7. Click Print

Edit Existing Reason
Video Tutorial:
Step by Step:
1. Go to Check In
2. Click on Reasons tab
3. Edit existing Reason
4. Enter/Adjust desired settings
5. Toggle on Allow Self Check In
6. Hit View QR Code
7. Click Print and Save
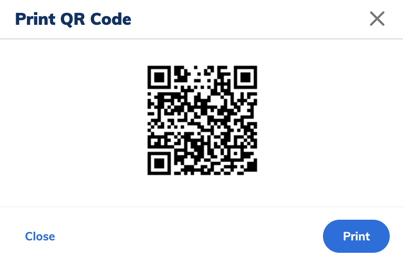
Once the QR code is printed, schools can place these in designated central locations for ease of access and to allow students to check in on their own without requiring staff involvement.
Event Self Check In
Step by Step:
1. Create an Event
2. Click drop down menu in Event Settings when creating an Event
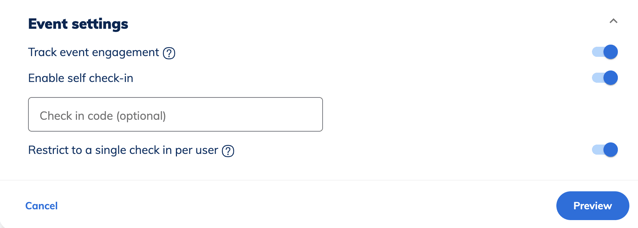
3. Toggle on Enable self Check-in
4. Toggle on Restrict to a single check-in per user if you want the student to only be able to check into the event once.
5. Publish the event
6. Click the ellipses then edit
7. Click View QR Code.
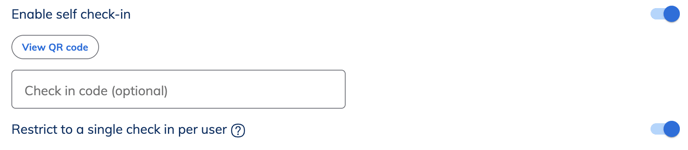 8. Save and Print and Post accordingly in your school.
Using Kiosks
Learn how to integrate QR codes with the new Kiosk mode for fast and efficient self-check-ins. Read more.