Permission Level: Owner | Manager | District Manager
Summary (click to navigate)
- Downloading your photos
- Lifetouch Customers
- Unzip your photos
- Uploading photos to Minga - Direct Upload
- Uploading photos to Minga - Template Method
- Allow teachers to upload or change their ID photos
Downloading your photos
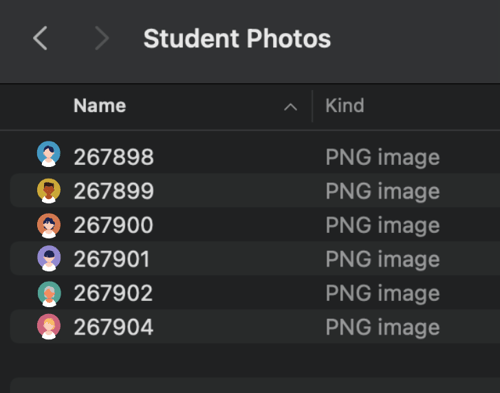
When you download your ID photos from your photo portal or your school's storage drive, the easiest method of uploading to Minga is to ensure every file is named the ID number of that individual.
Your photo file names should match the ID numbers exactly with no extra text (see below example) - this is what enables Minga to automatically match the photo to the right person. Your photos can be PNG or JPG files.
Lifetouch customers
If you have a Lifetouch portal which stores all of your school photos click here for a detailed guide on downloading your photos.
Prepare to upload - UNZIP your photos!
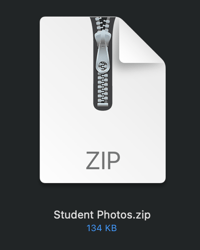
Once you have downloaded your photos, you may find they are in a zipped folder. If your photos are in a compressed/zipped folder that looks like this, we first need to unzip the file.
On Microsoft
- To unzip a single file or folder, open the zipped folder, then drag the file or folder from the zipped folder to a new location.
- To unzip all the contents of the zipped folder, press and hold (or right-click) the folder, select Extract All, and then follow the instructions.
On Mac
- Double click on the zipped file
Now your photos folder is unzipped we can upload your photos to Minga.
Uploading your photos to Minga- Direct Upload Method
If your photo files are labeled by student ID number, you can simply drag and drop the photos for a swift upload.
Step by Step:
1. Click the Upload photos button and either drag and drop all files into the window or select Browse Files to select files to upload
2. Press Upload

3. A progress window will pop up and let you know when the upload has completed. If there are any issues with the upload, you will receive a pop-up notification with the option to download a report.


It's that easy! Minga has automatically matched all your photos to the correct students using their student ID numbers.
You can go back to the Dashboard tab to check on your new IDs with photos!
Uploading your photos to Minga- Template Method
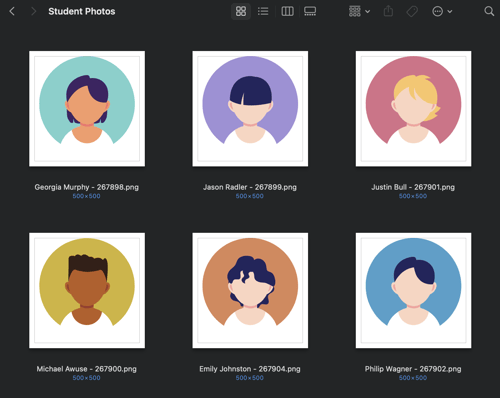
If your photo files are not labeled by the student ID number, you will need to use the Template Method to upload photos. Minga uses student numbers to identify users within the app, so if your student photo file names look something like the below, and include more than just the student ID number, follow the template provided in Minga to match the photo to the appropriate student
Step by step:
- Navigate to ID Manager and from the ID Dashboard click on Upload Photos
- Select Template Method

- Download the template and follow the format shown for your file upload

- Upload your completed template and your photo files, and then press Upload
- You will then see a progress window populate, followed by a notification of a successful download

6. You can also check your notifications bell in the top right corner if you are busy in other areas of Minga to see if the upload was successful
Allow teachers to upload or change their ID photos
You can enable this option to allow teachers and staff to upload or change their ID photos directly from either the ID dashboard or My Tools.
To enable this option:
- Navigate to your ID dashboard.
- Click Settings
- Toggle ON/OFF > Allow Teachers / Staff to upload their ID pictures
.gif?width=688&height=398&name=2024-08-28_17-08-00%20(1).gif)